Behind-the-Scenes of a Product Photographer
Test shooting is something photographers invest time to do as often as possible. This is a way to practice a new technique, photo angle, styling, a lighting style, and much more - and usually it’s for a personal project or to test things before a client photoshoot. As a product photographer, I try my best to test shoot at least once a month (the more the better of course). Truly, it’s a great a way to put your art into play and most importantly, hone in on your craft. Here is a close behind-the-scenes look at how I prepare for a product test photo shoot, using props & items accessible in my home studio.
Collect Inspiration & Materials
I don’t always know what to photograph when test shooting, but I begin by narrowing down items or photos that have something in common like, the angles, a color, or lighting.
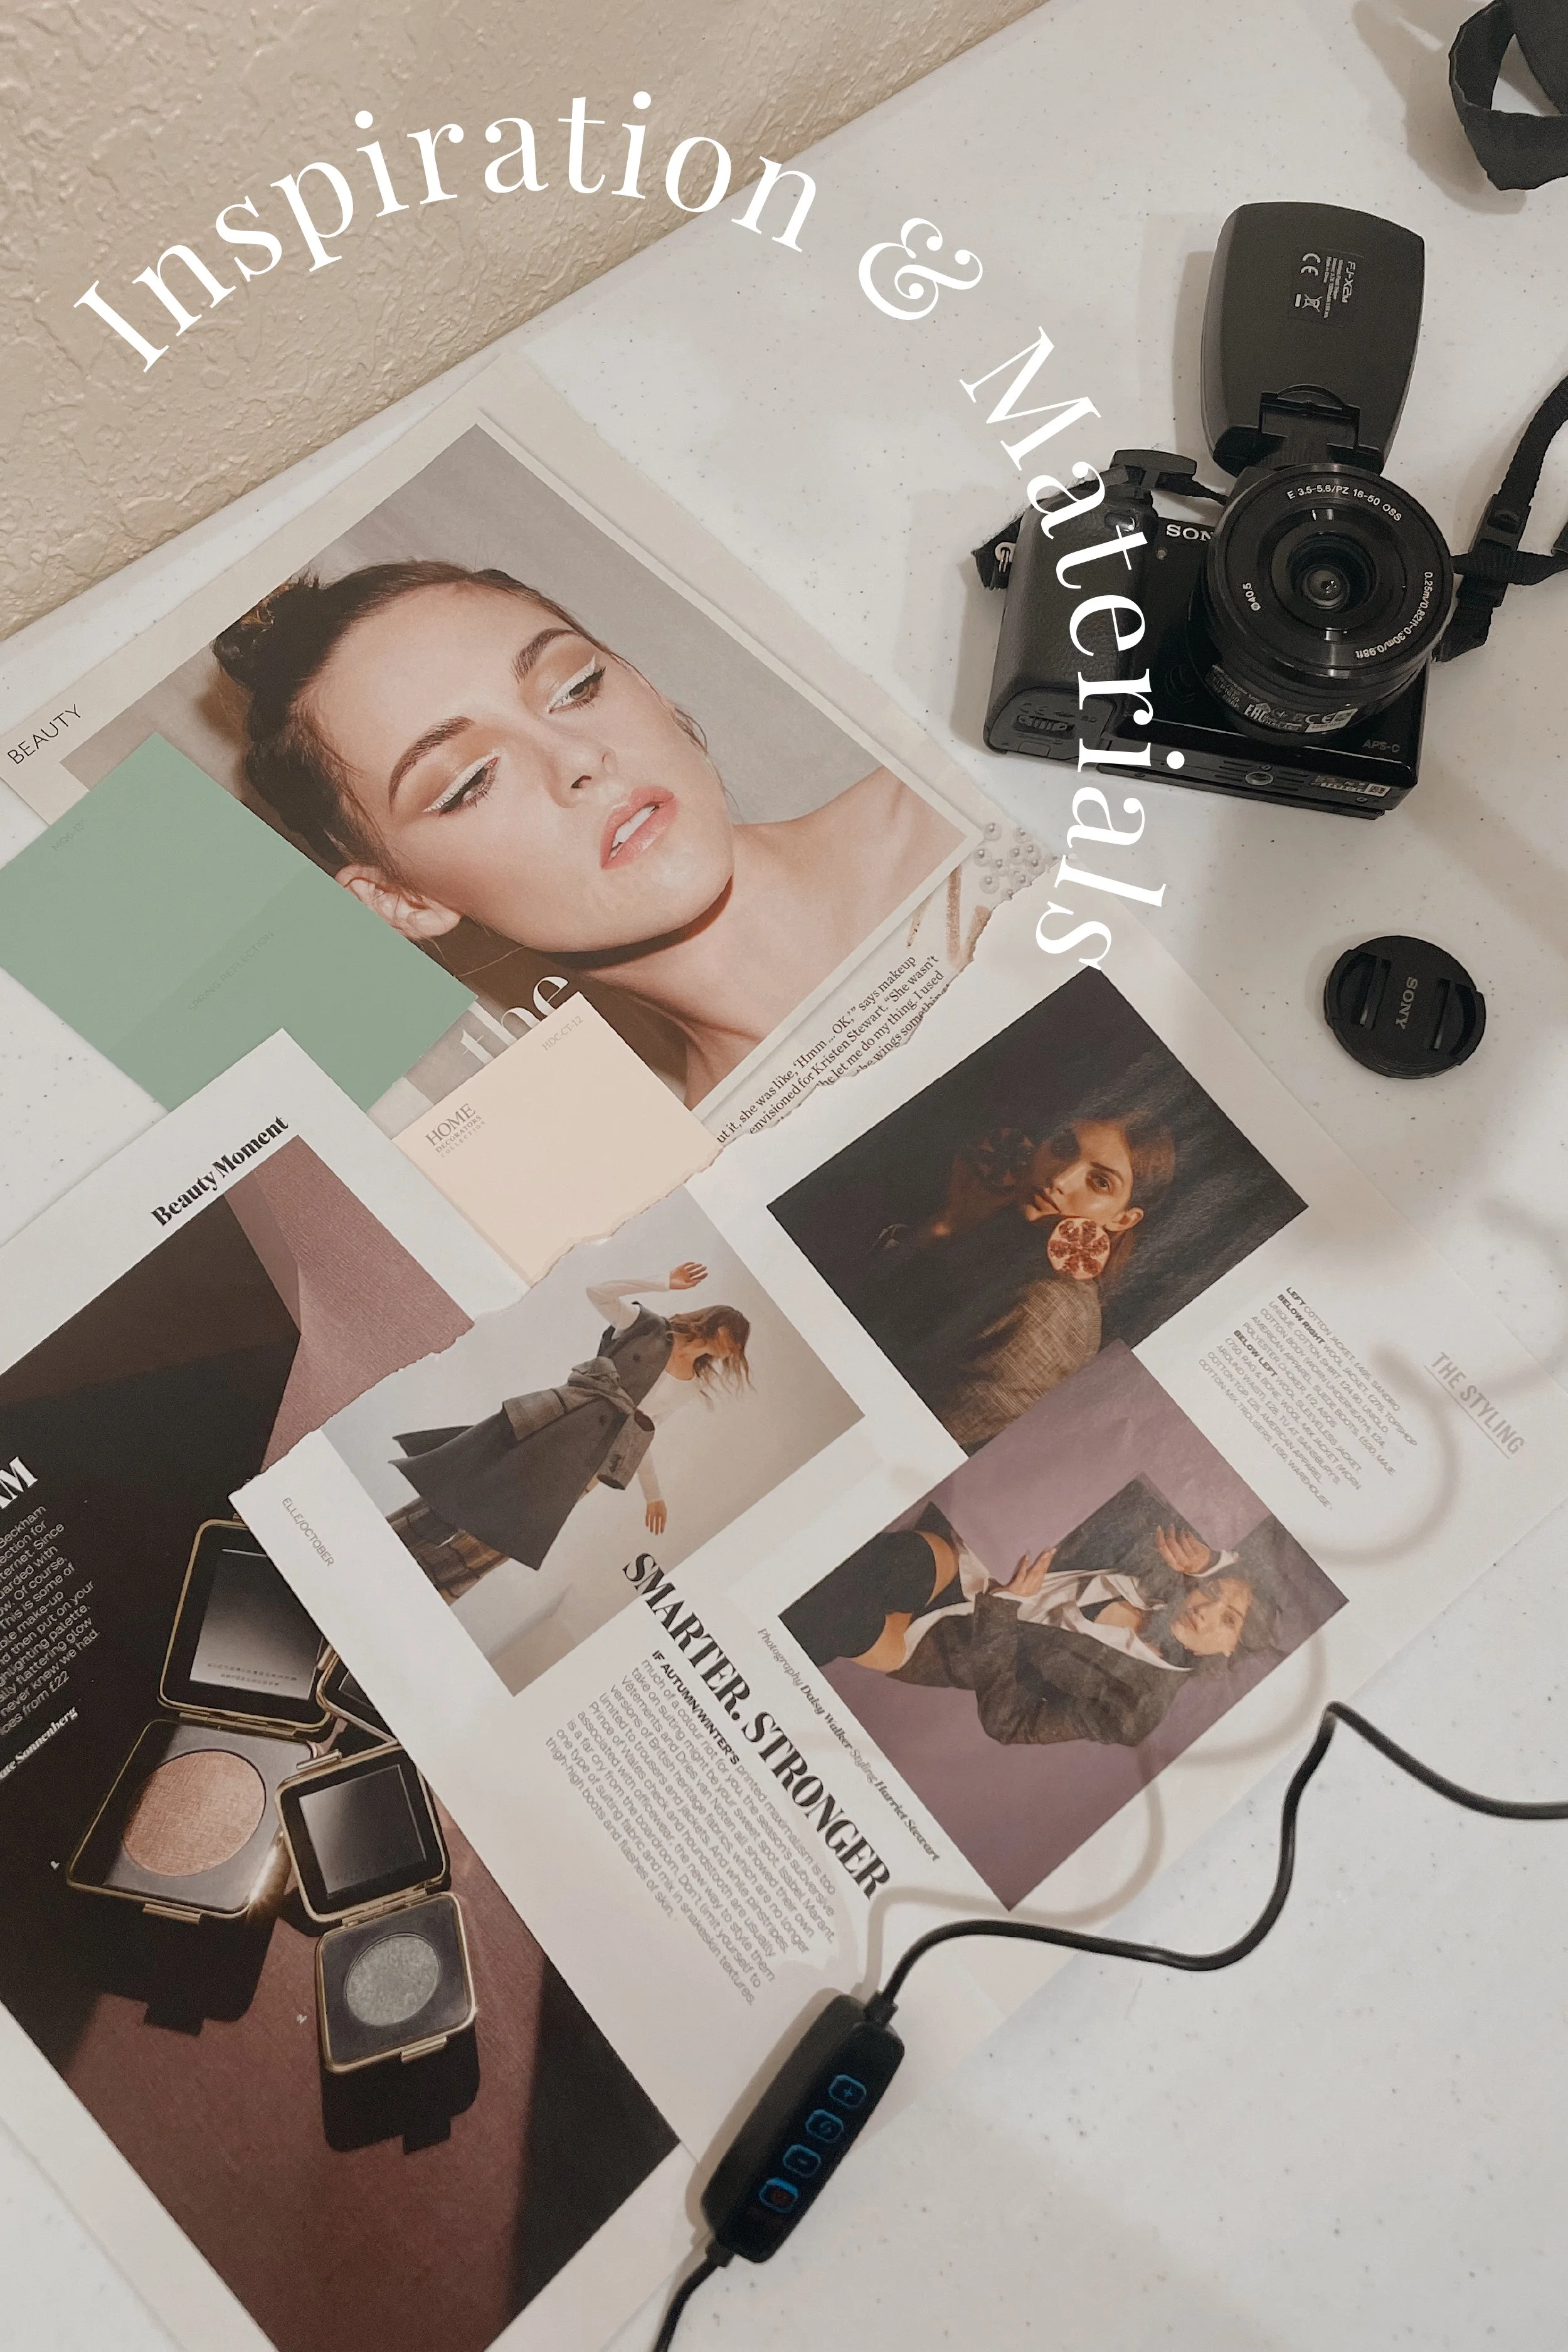
Today, my inspirational items are a combination of color swatches and three magazine clippings.
What Does the Inspiration Have in Common?
Art is partially intuitive and strategic. In this product test shoot, I am focused more on letting the creative energies unfold on their own (less strategy/planning).
The magazine clippings have very minimal styling and a modern aesthetic all-around.
*Reminder that images are to be used solely for inspirational purposes, we are not trying to copy another photographer’s work. If you’re mimicking or creating a replica of a specific styling method, pose, or effect - be sure to make that clear when sharing the images.
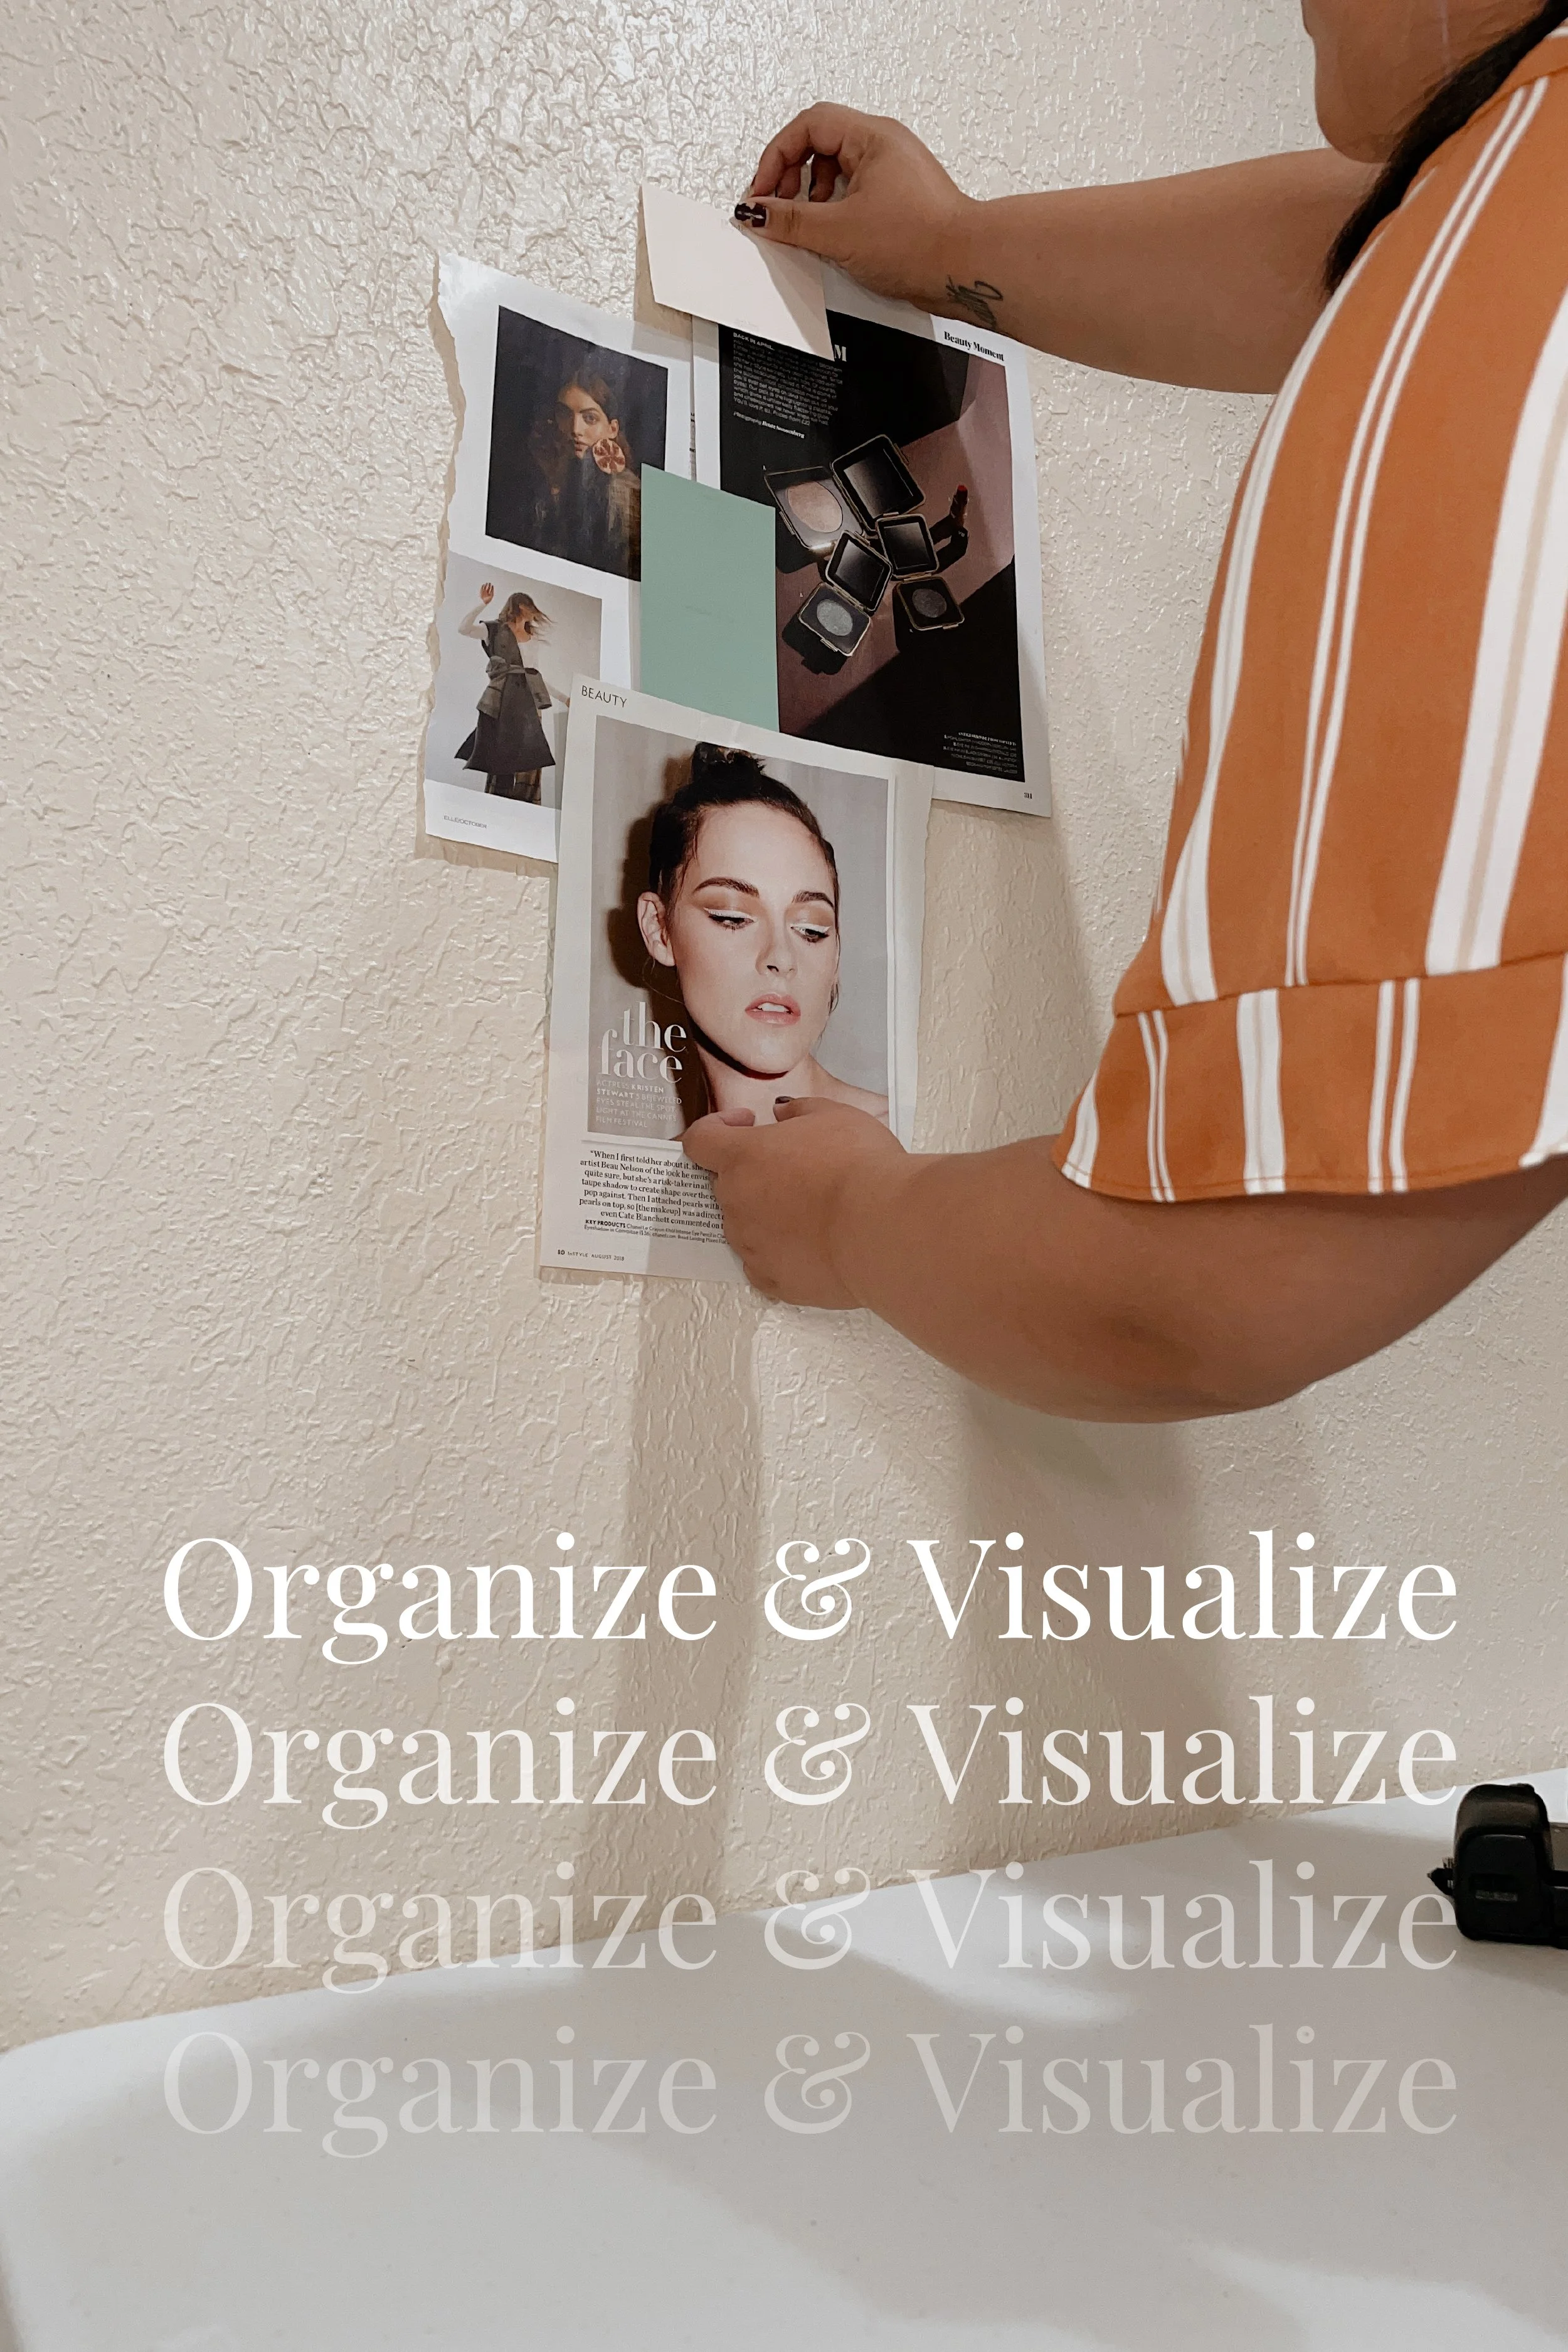
Organize & Visualize The Idea
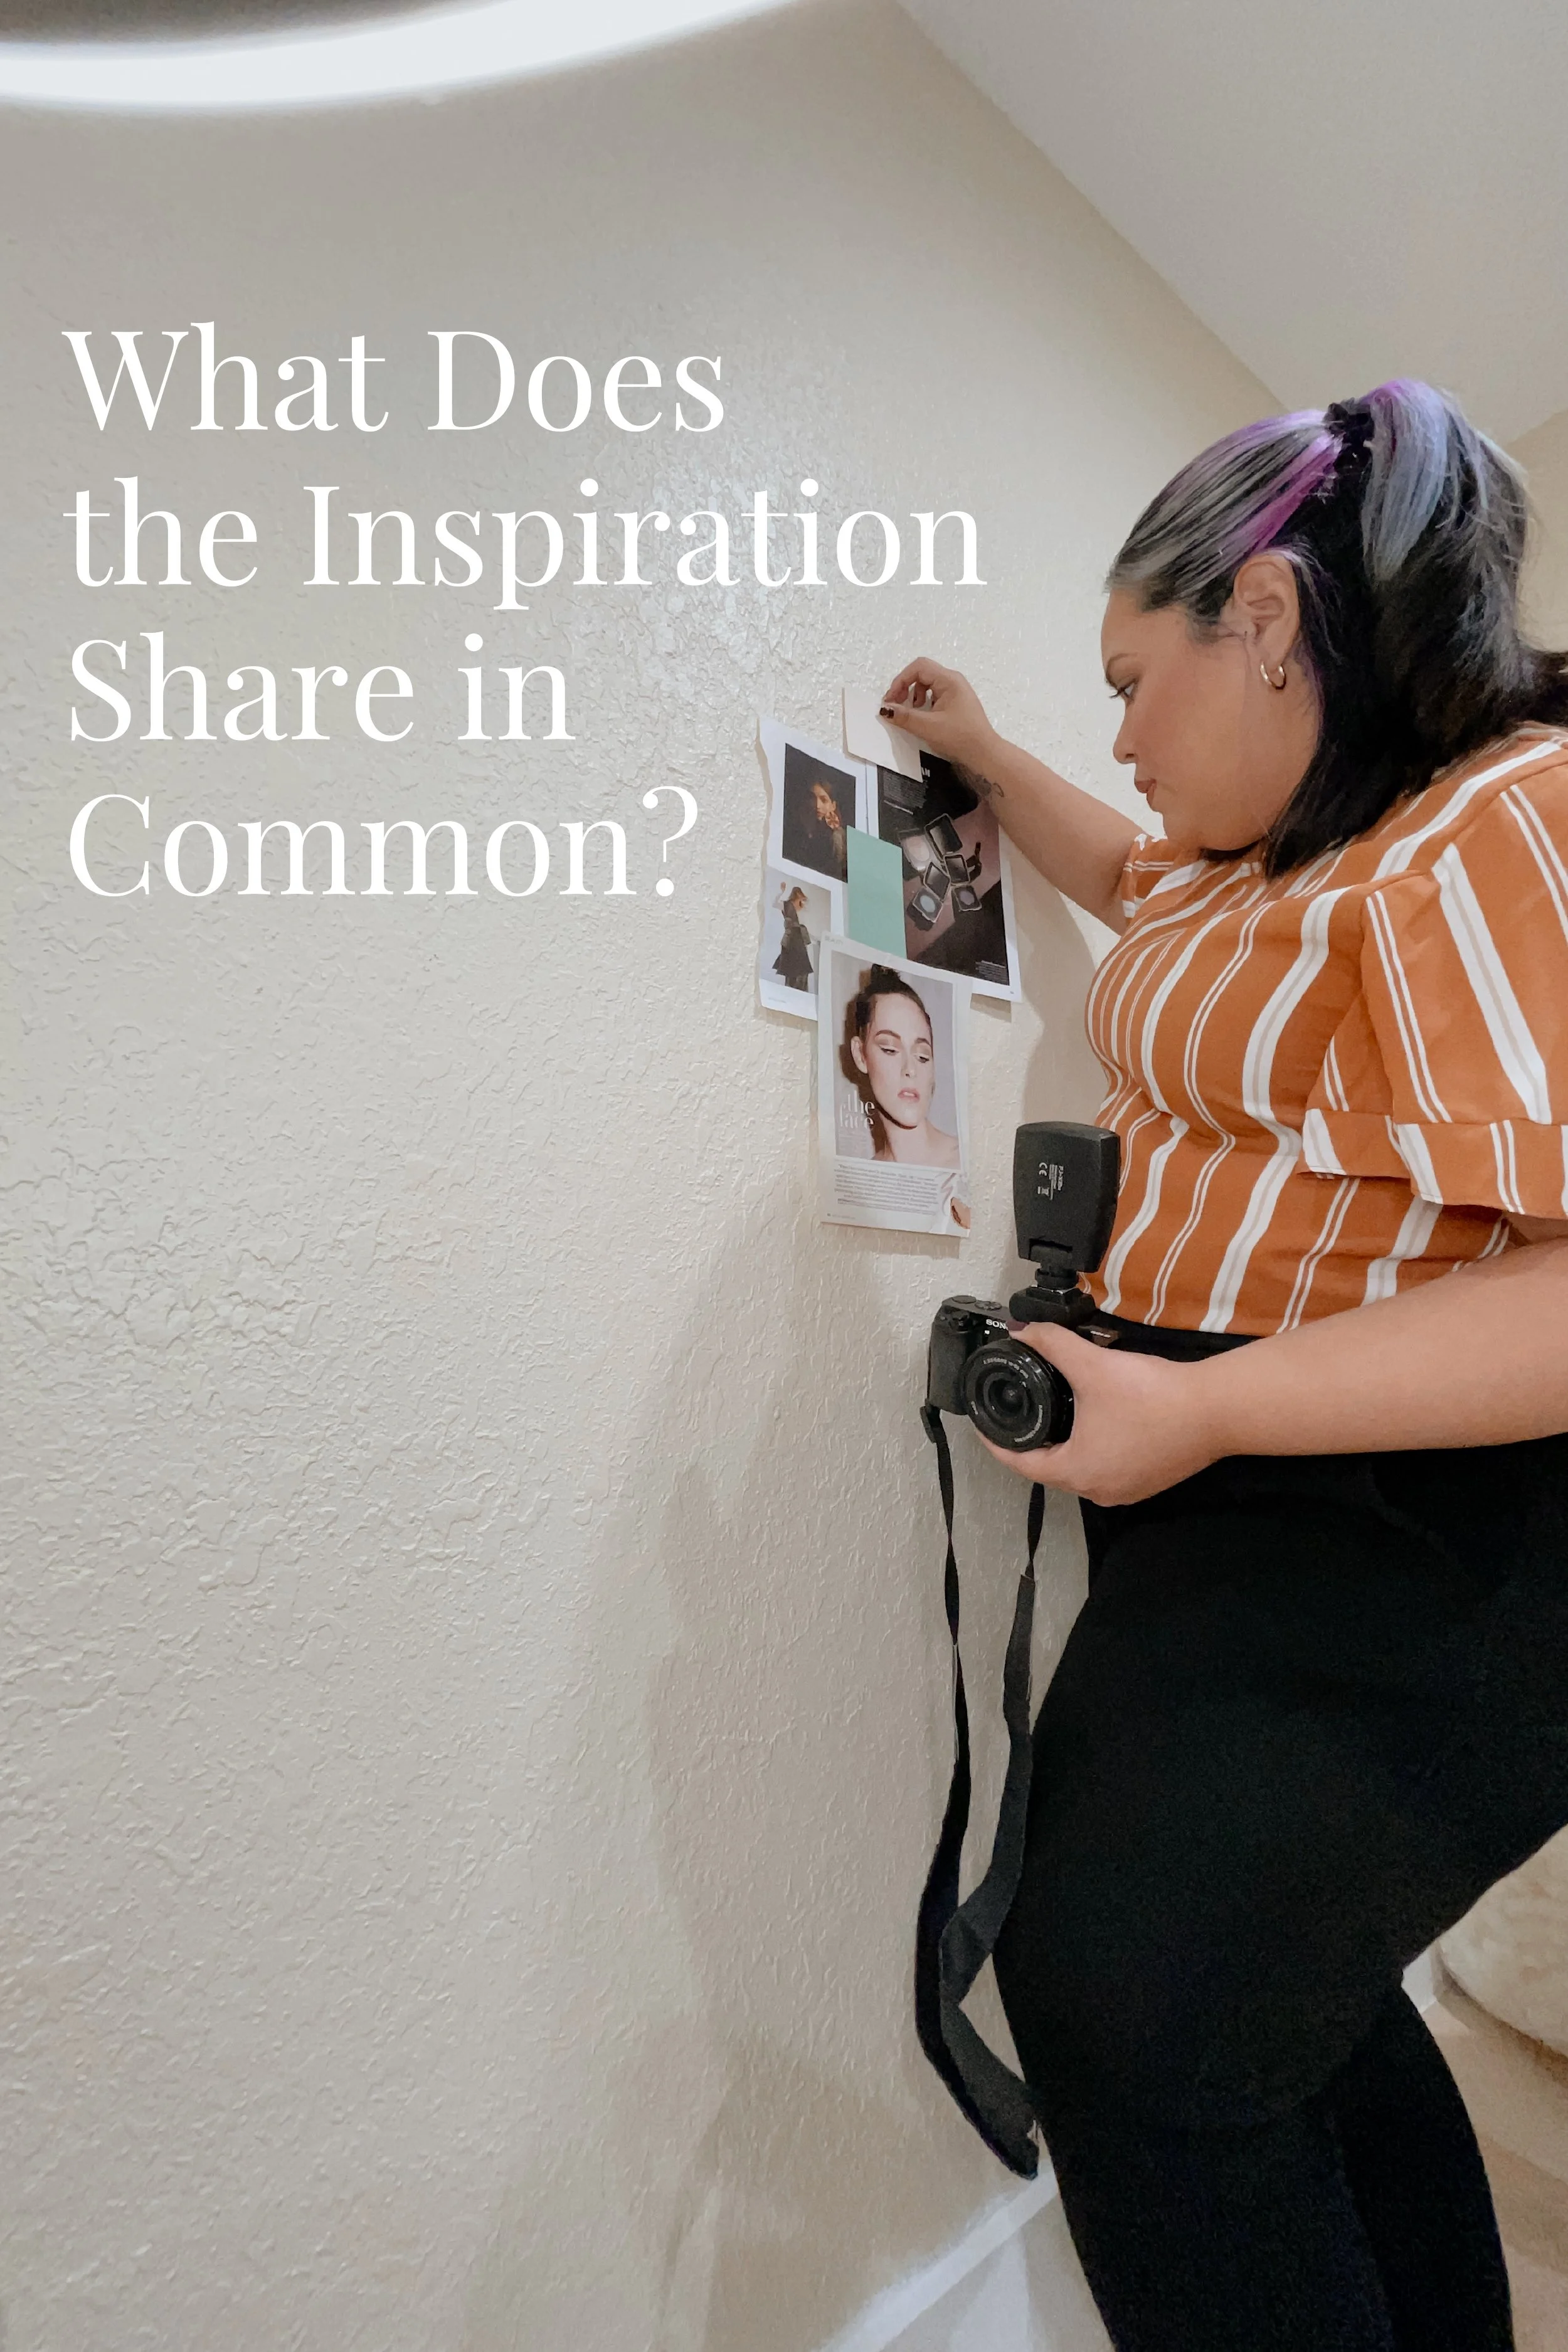
I like to place my inspirational items on the wall for a better view. As a visual person, it helps to see it all in front of me. Some ways to organize your inspiration is on a laptop or tablet or a cork board.
As I organize, the ideas begin to roll out and so does the overall vision - from what color photo backdrop to use, the products to feature, and any equipment pieces I may need to get started.

Get Ready to Photograph
It took me about 12 to 15 minutes to decide which products to feature in this test shoot. From here, I setup the set and dove right into the styling of each. I like to give myself enough flexibility & room to test the styling, the brightness and placement of the strobe light.
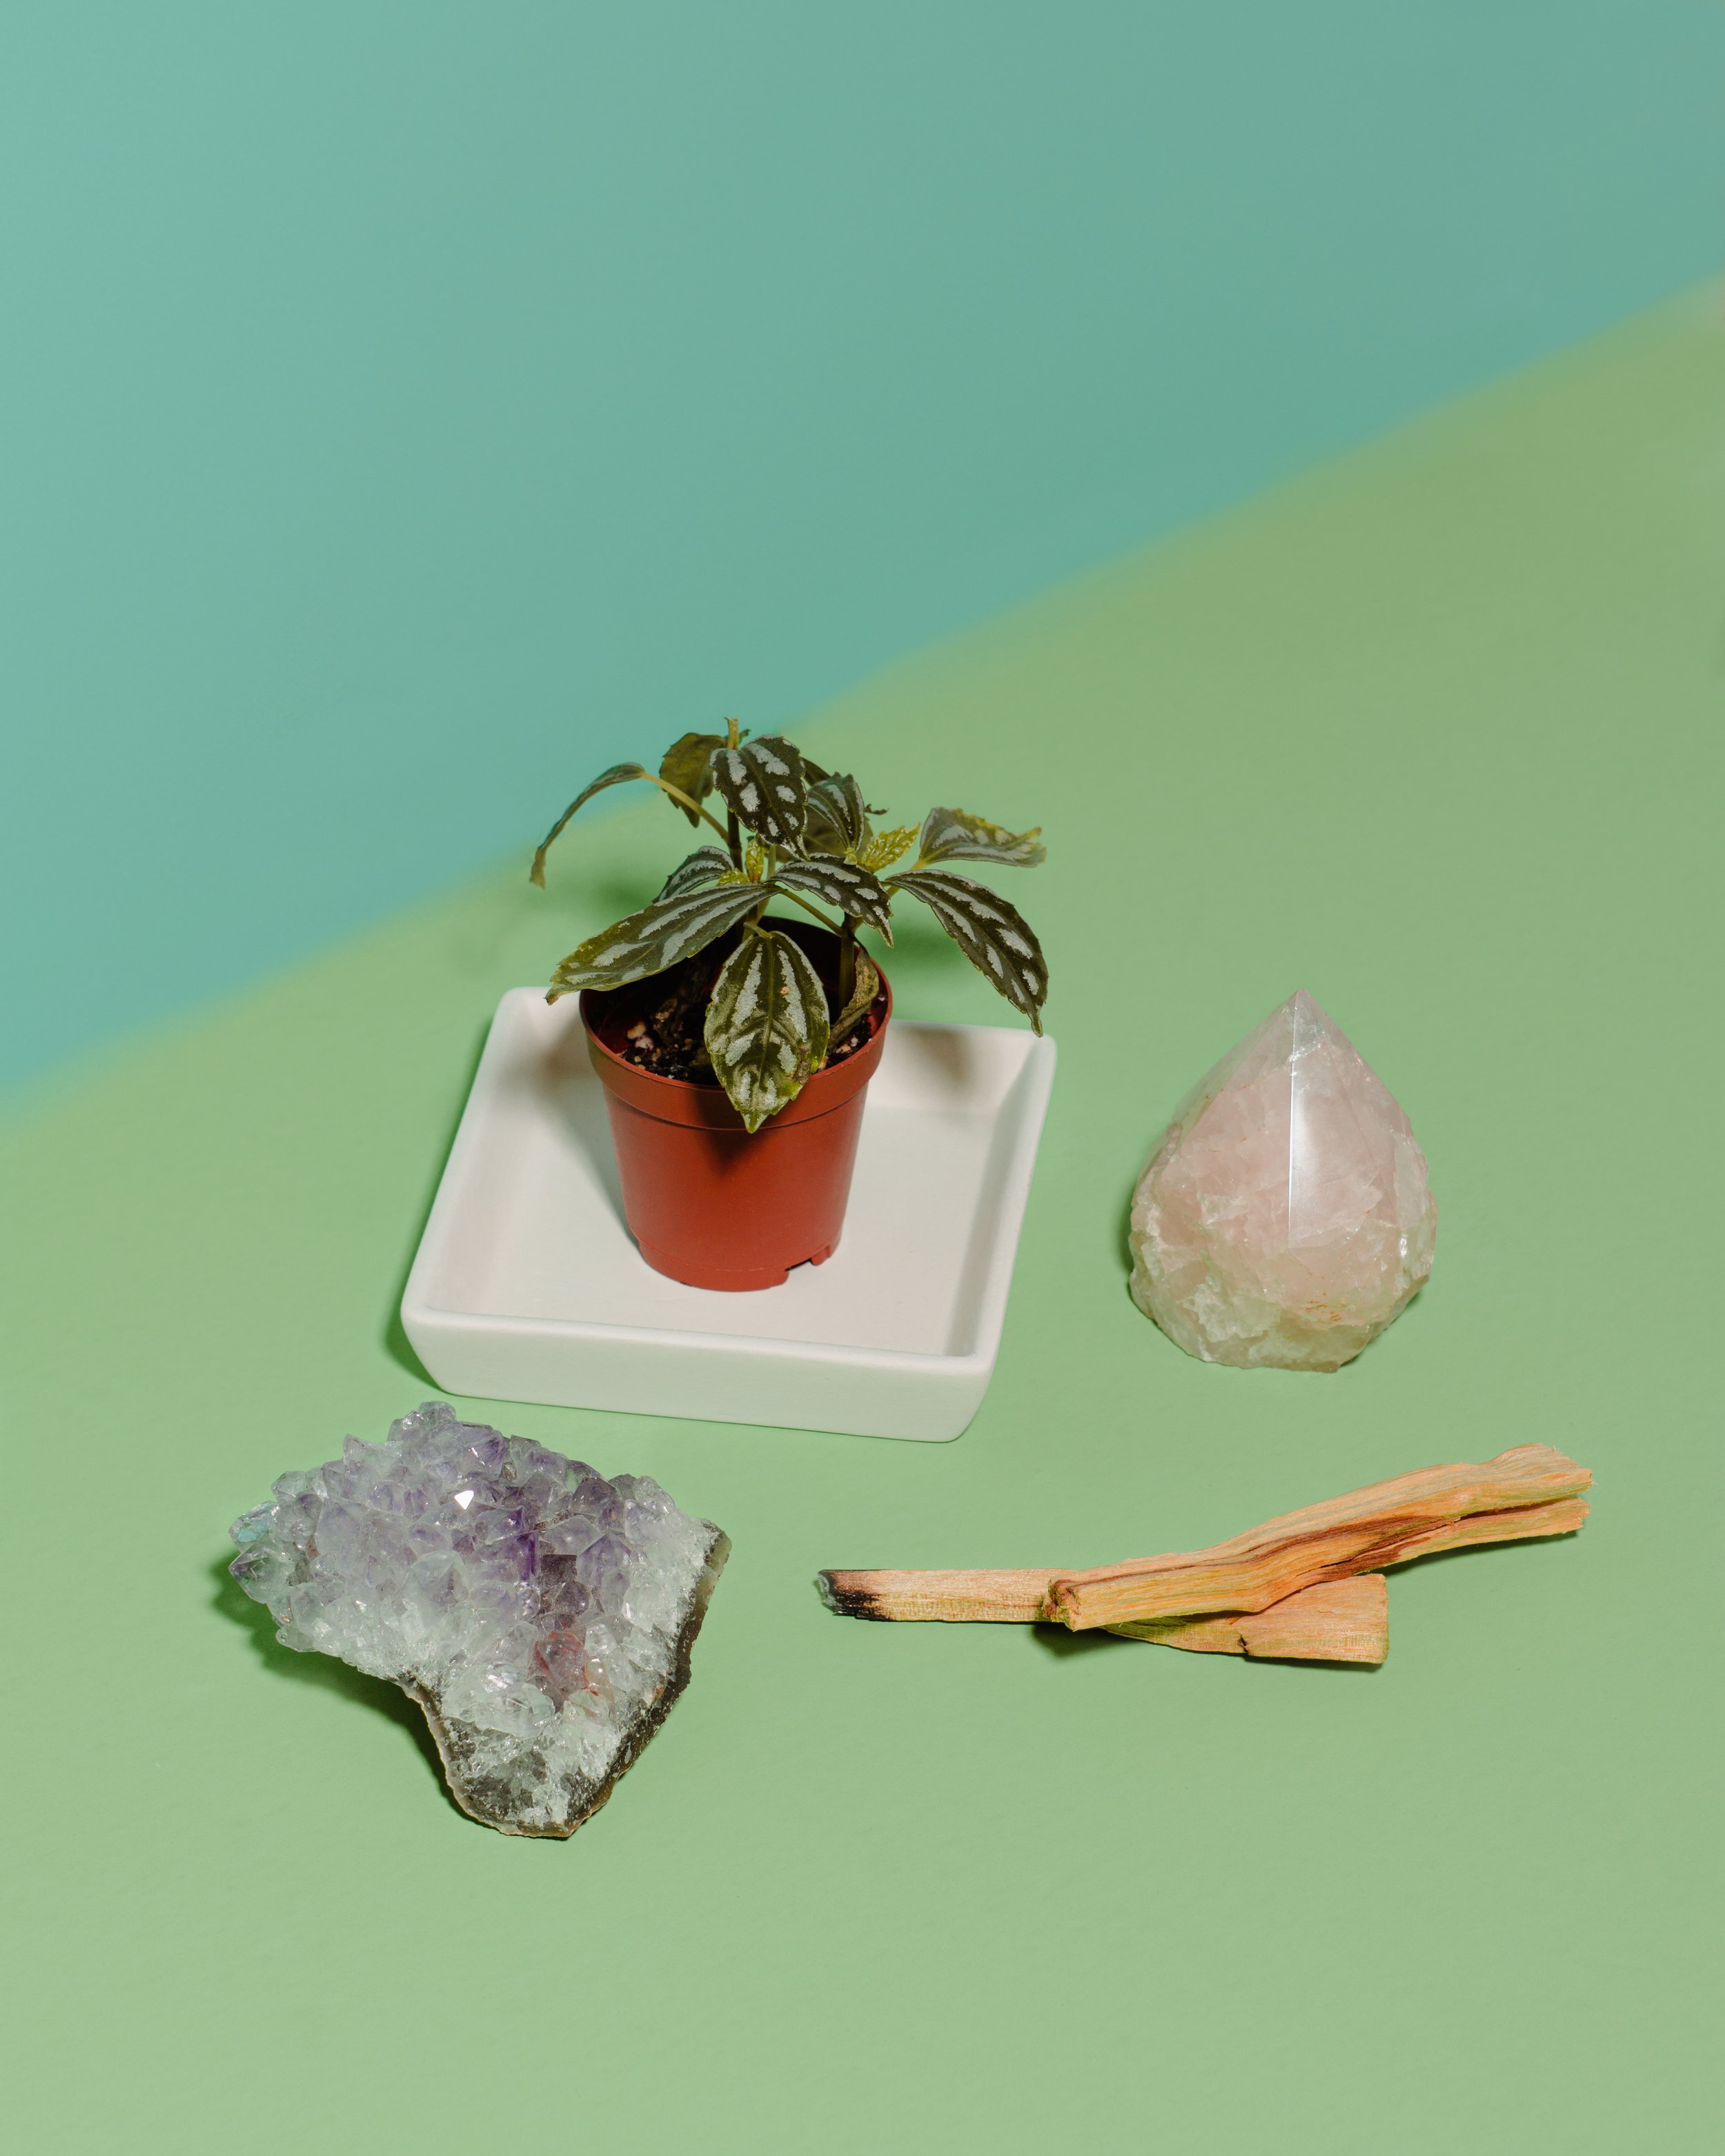
I focus on photographing 3 images of each styling method. Once the lighting is how I like, that typically doesn’t change or move.
Having the inspiration nearby and in front of me, help with the photo angles to capture - while also being mindful of which camera lens to use for the best result.
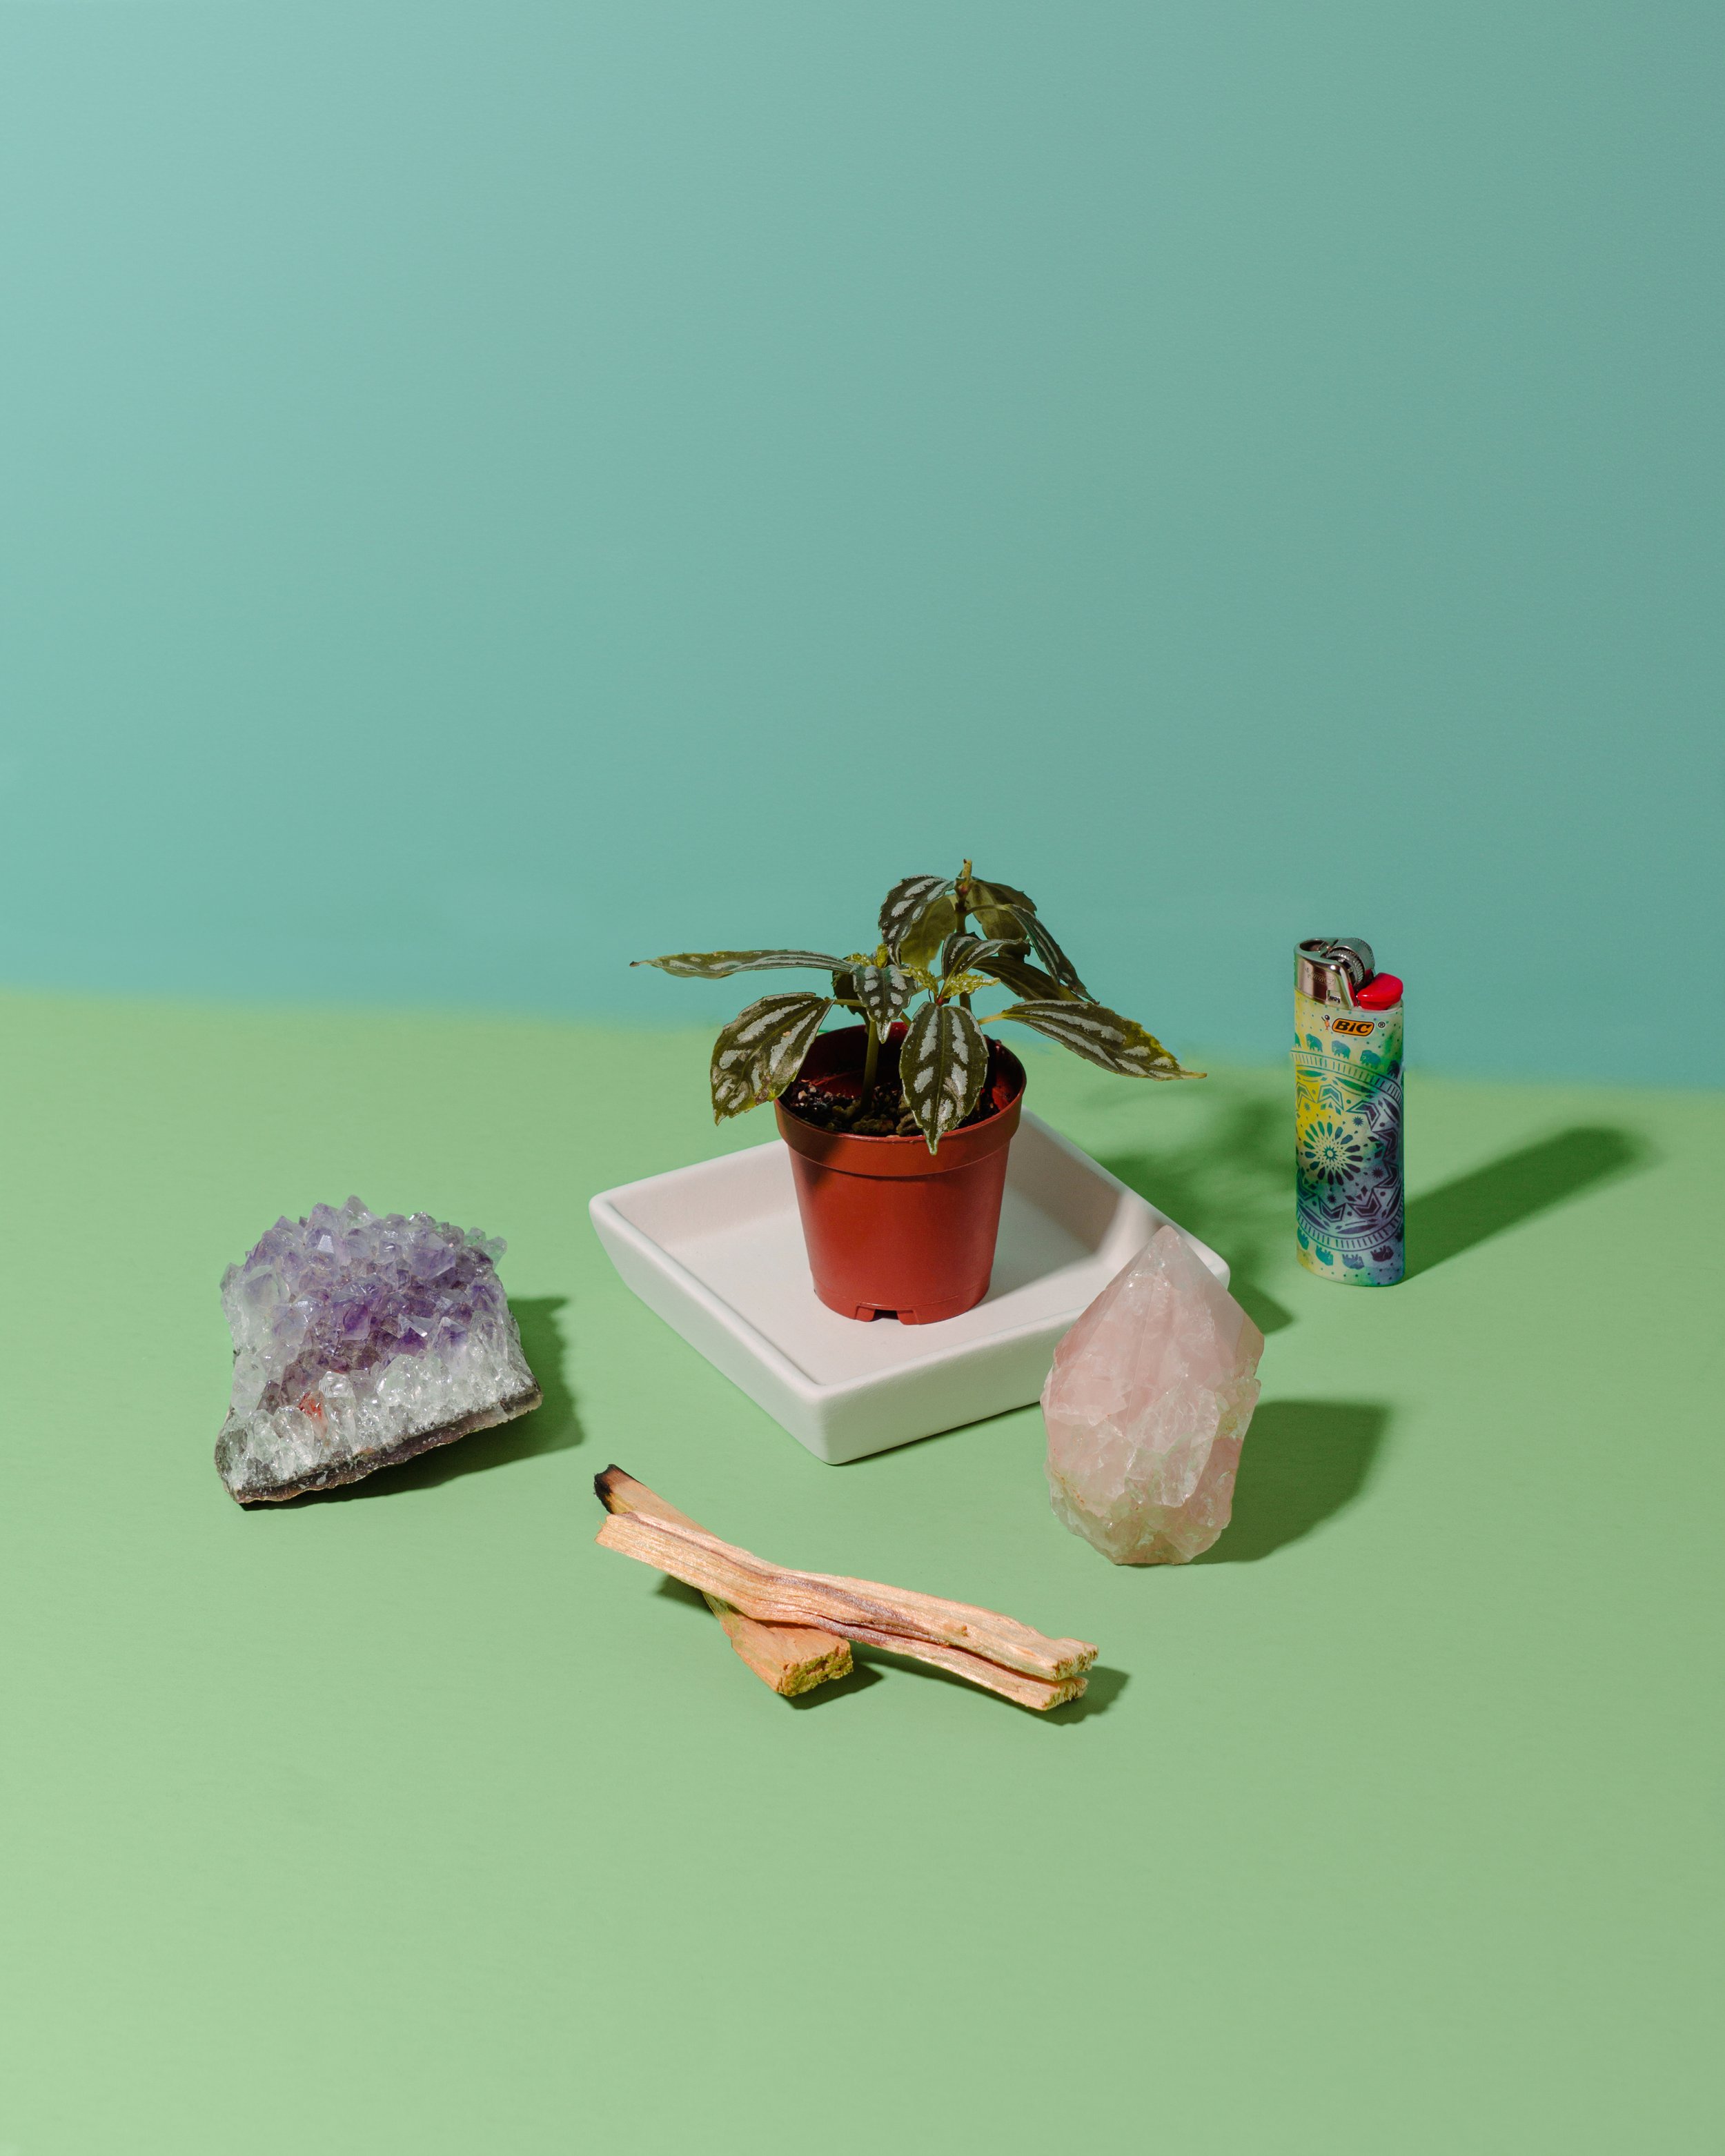
It was incredibly fun to let my ideas run freely during this product test shoot. I managed to incorporate 7 items into a shot without overwhelming the frame. This will help me during the process of photography for a client project that may require capturing their entire product line.
As I was moving along, I published this TikTok video - see the movement that goes on and enjoy the final image results below! For the next “behind-the-scenes” blog, I will include more details & photos of the equipment I use. Thanks for reading!
-Andrea